OBS Studio怎么录屏?超详细obs studio录屏教程
OBS Studio是一款用于视频录制和直播流媒体自由和开放源码软件,近期有用户想要使用OBS Studio录屏,那么应该如何操作呢?其实方法很简单,下面小编带来了超详细obs studio录屏教程以及OBS Studio录屏区域的选择方法,希望你会喜欢。
OBS Studio录屏教程如下:
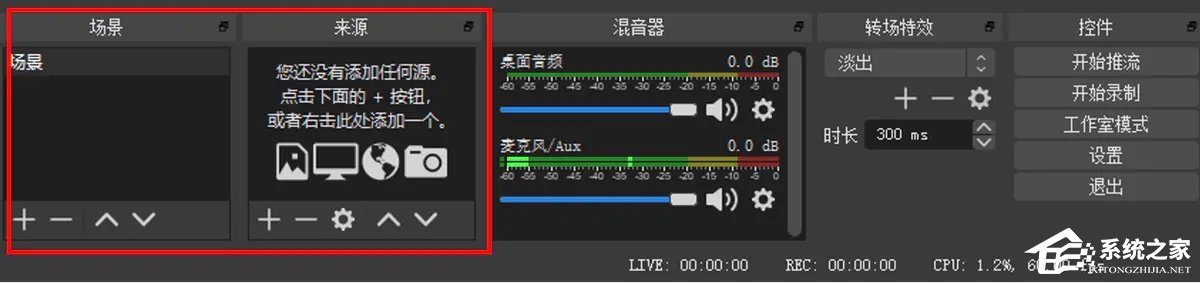
需要设置场景和源,你可以从OBS Studio底部区域的两个面板添加场景和源。
设置场景
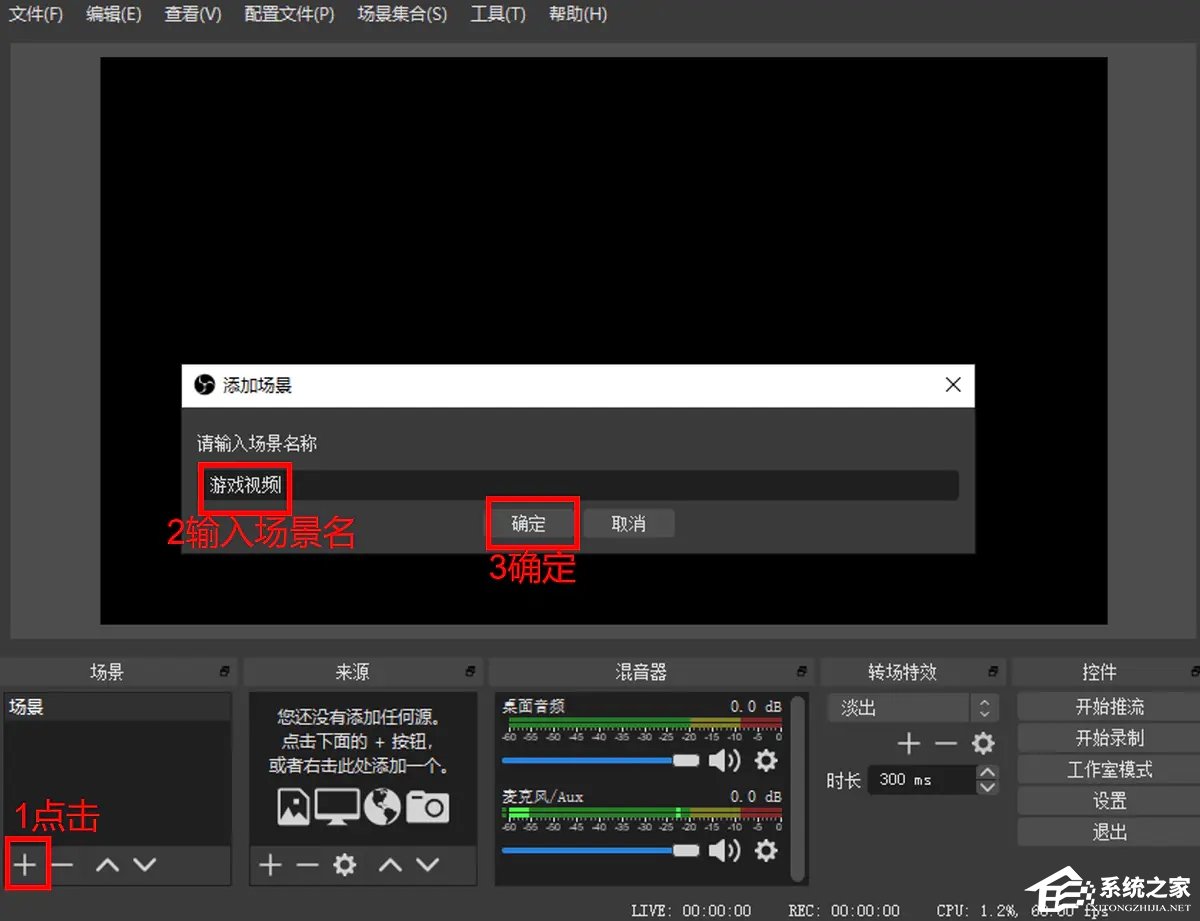
1、通常单场景即可适用大部分情况。单击场景面板的【+】号添加场景,如下图所示。
设置源
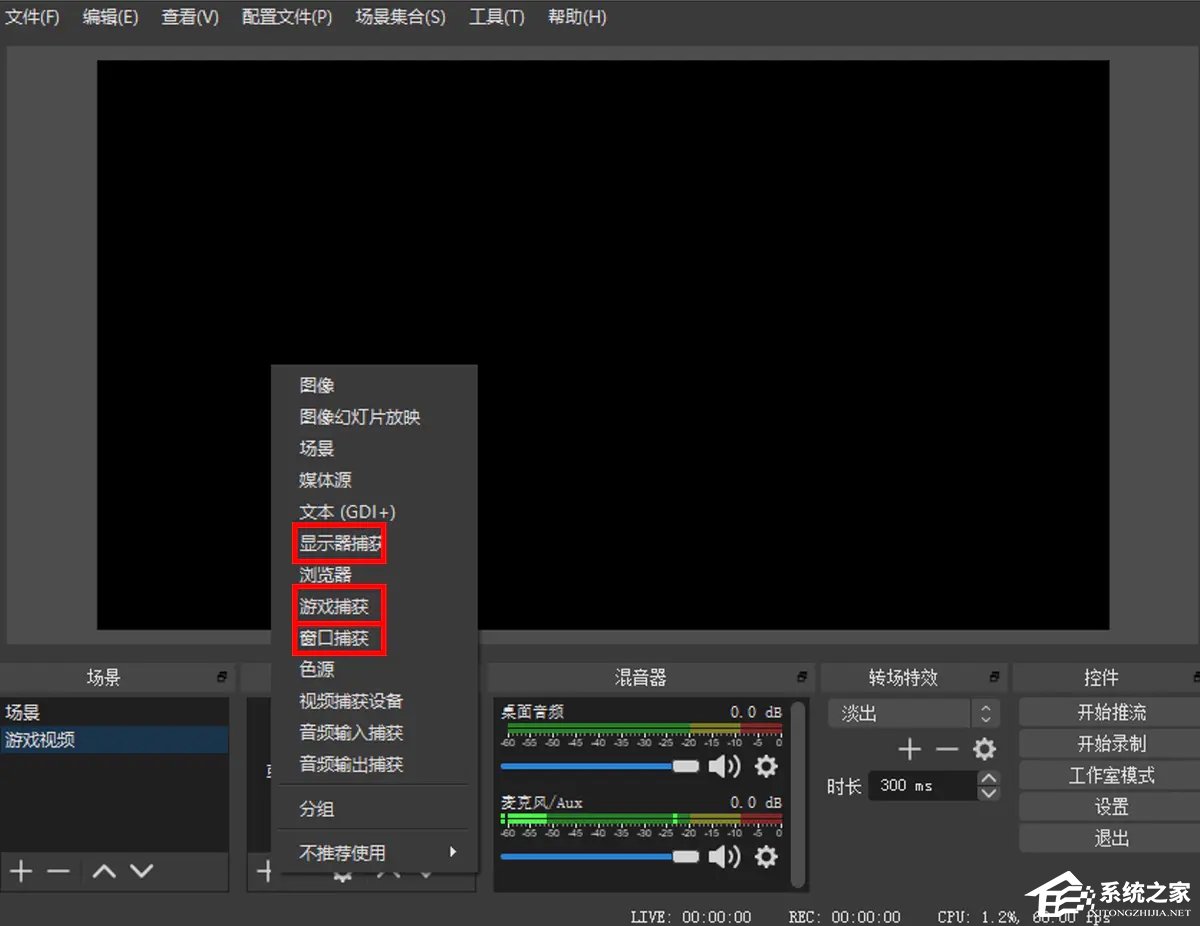
1、选择上步创建的场景,单击来源面板的【+】号添加源。常用的源有三种,
2、显示器捕获:录制整个显示器范围的屏幕。
游戏捕获:录制游戏。
窗口捕获录制指定程序窗口的视频。如下图所示。
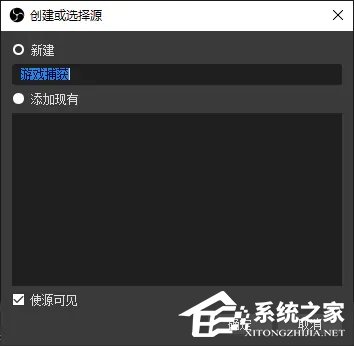
3、我们以录制游戏视频为例。点击上面菜单里的【游戏捕获】,在下图所示的对话框里输入源名称,点击确定。
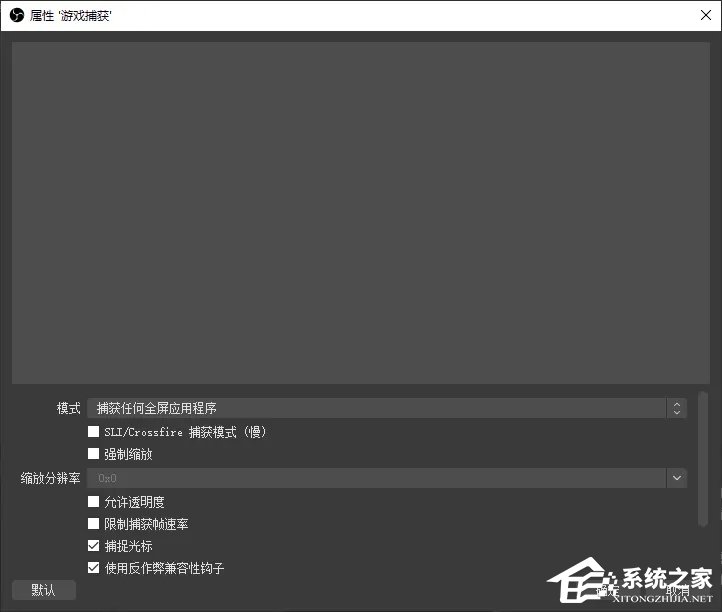
4、出现如下图对话框,保持默认即可,点击确定完成源添加。
设置音频
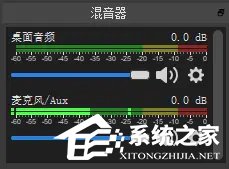
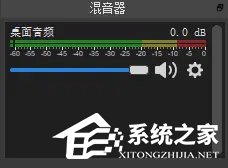
1、混音器面板默认会有两个音频源,如下图所示。
2、录制视频通常只需要桌面音频,所以需要去掉麦克风,不然录制的视频会出现杂音。
3、如下步骤去掉麦克风。
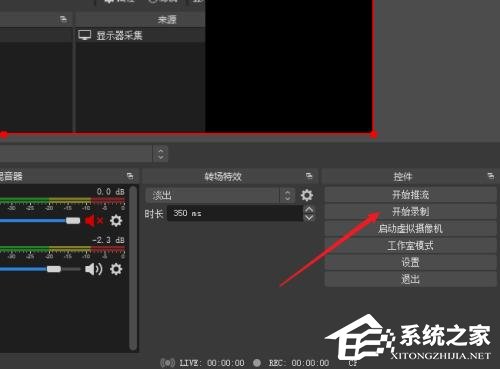
点击控件面板的【设置】菜单。

在弹出的设置对话框中,选择【音频】,将麦克风全部设为禁用。
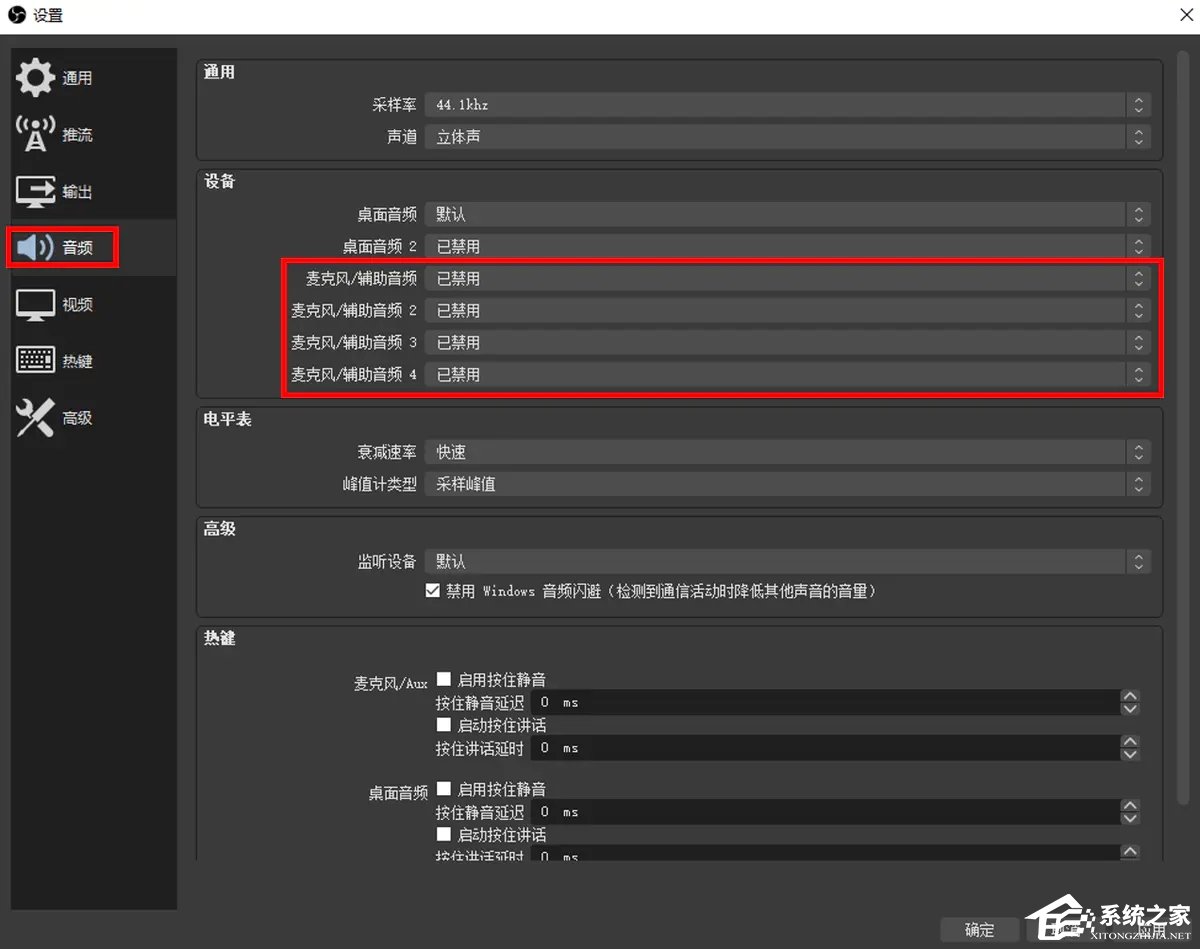
设置成功后,混音器面板不再出现麦克风。
录制
1、确保选中【游戏捕获】,点击控件面板的【开始录制】菜单即可开始录屏。

2、然后启动想要录制的游戏即可。
3、为了确认OBS Studio正常工作,你可以从游戏切回桌面,查看OBS Studio的预览界面是否出现游戏画面,如果出现表示在正常录制,如下图所示。

4、点击控件面板的【停止录制】,即可结束录制。
5、录制的视频默认存放在当前用户文件夹的视频目录下,例如:C:\Users\admin\Videos
设置显卡
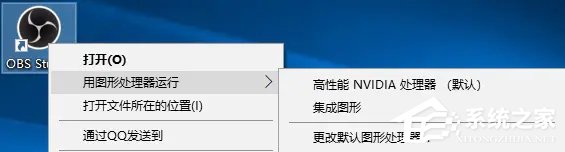
如果录制时出现黑屏,可能是OBS Studio使用的显卡与实际输出显卡不一致,可以右键点击OBS Studio的桌面快捷方式手动选择显卡,如下图所示。
文件位置
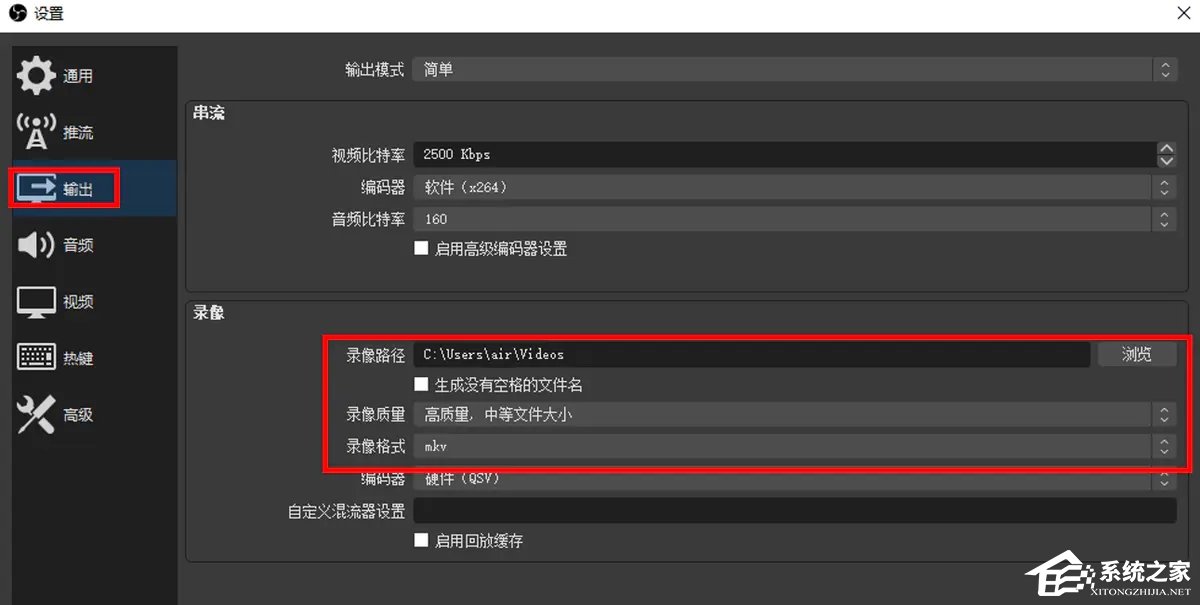
点击控件面板的【设置】菜单,在设置对话框中,选择【输出】,可以设置录制的视频文件的存放位置,还可以设置视频质量(文件的大小)和视频格式,如下图所示。
视频设置
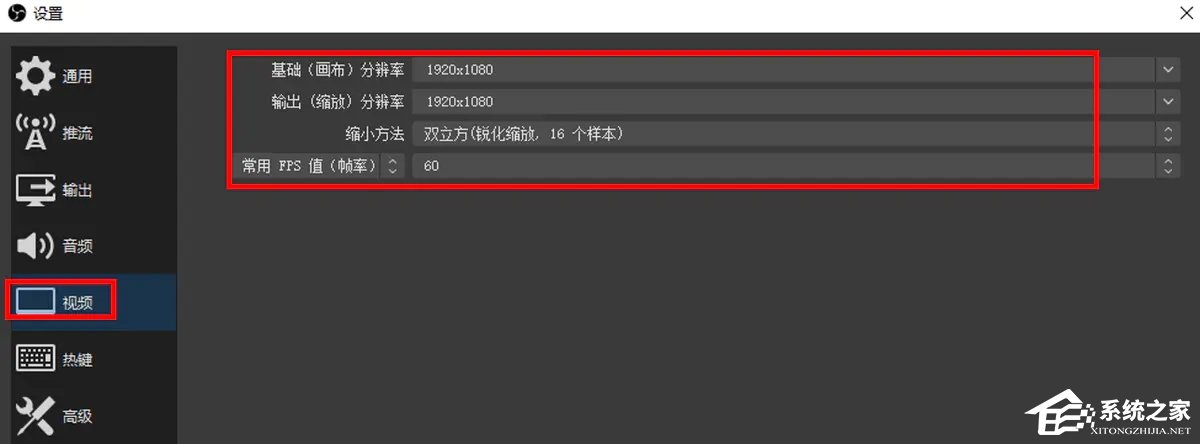
点击控件面板的【设置】菜单,在设置对话框中,选择【视频】,可以设置输入输出分辨率和FPS等,如下图所示。
OBS Studio录屏区域的选择方法
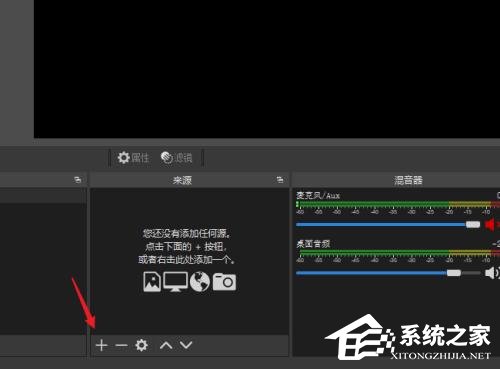
1、首先打开软件进入操作界面,在“来源”面板中点击【+】按钮。
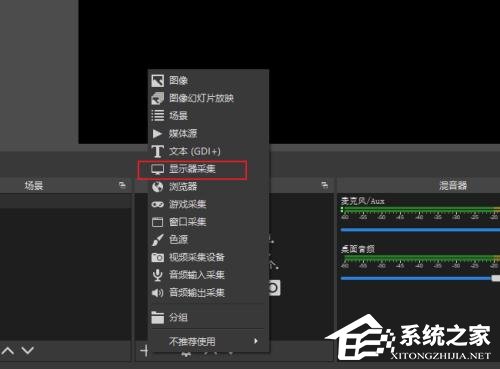
2、然后在打开的菜单中选择“显示器采集”,把显示器加入进来。
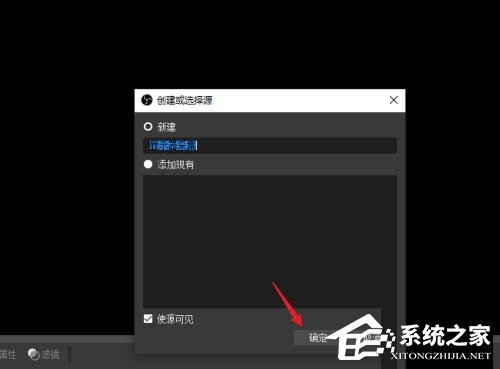
3、在弹出的窗口中选择“新建”,点击“确定”按钮完成新建。
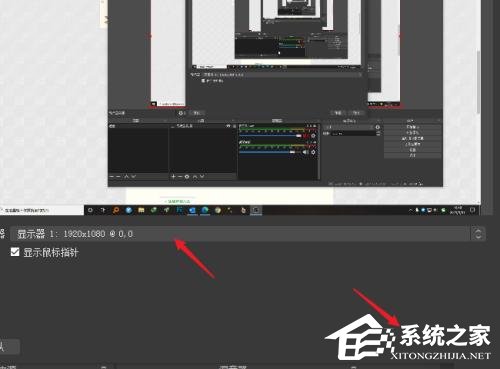
4、选择要显示的显示器名称,点击“确定”按钮完成屏幕载入。
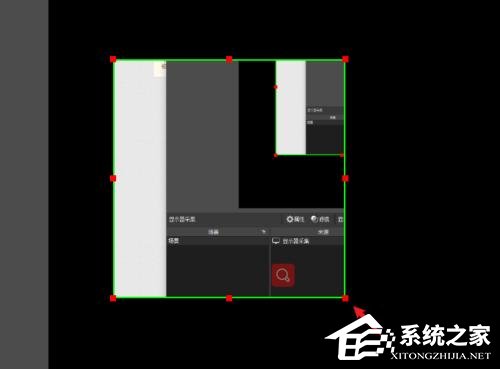
5、点击选中屏幕显示框,按住键盘上的alt同时拖动边框上的小方块就可以实现区域截取。
6、右击鼠标打开菜单,选择“调整输出大小(到源大小)”。
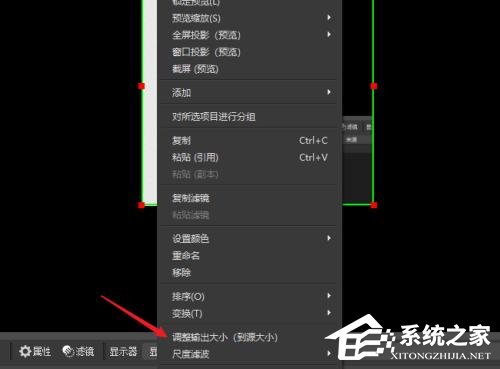
7、最后弹出的对话框中点击“确定”,此时录屏的区域就放大画布的大小。点击【开始录制】按钮就可以开始录屏了。